
Nearly half of british adults aged 25 to 45 in London report an interest in advanced facial contouring, yet safe cheek fillers remain a mystery for many. The desire for bespoke cosmetic enhancement calls for precision and knowledge, especially within luxury aesthetic circles. This guide empowers you with expert, step-by-step insight into cheek filler application, making the process transparent and tailored to your individual facial features.
Table of Contents
- Step 1: Assess Facial Structure And Suitability
- Step 2: Prepare The Skin And Select Filler Type
- Step 3: Mark Precise Injection Points
- Step 4: Administer Cheek Filler Safely
- Step 5: Evaluate Symmetry And Final Results
Quick Summary
| Key Insight | Explanation |
|---|---|
| 1. Assess facial anatomy thoroughly | A comprehensive evaluation of bone structure, skin quality, and symmetry is essential for optimal filler placement and achieving natural results. |
| 2. Prepare skin before treatment | Cleansing and avoiding certain products prior to the procedure aids in minimising infection risks and enhancing filler integration. |
| 3. Mark precise injection locations | Detailed mapping of facial contours ensures correct filler placement, promoting a balanced and flattering aesthetic outcome. |
| 4. Administer filler with care | Use of the correct technique and precision during injection is critical for achieving natural-looking results with minimal discomfort. |
| 5. Monitor results and aftercare | Post-treatment evaluation and gentle aftercare practices are crucial for ensuring optimal recovery and satisfaction with the results. |
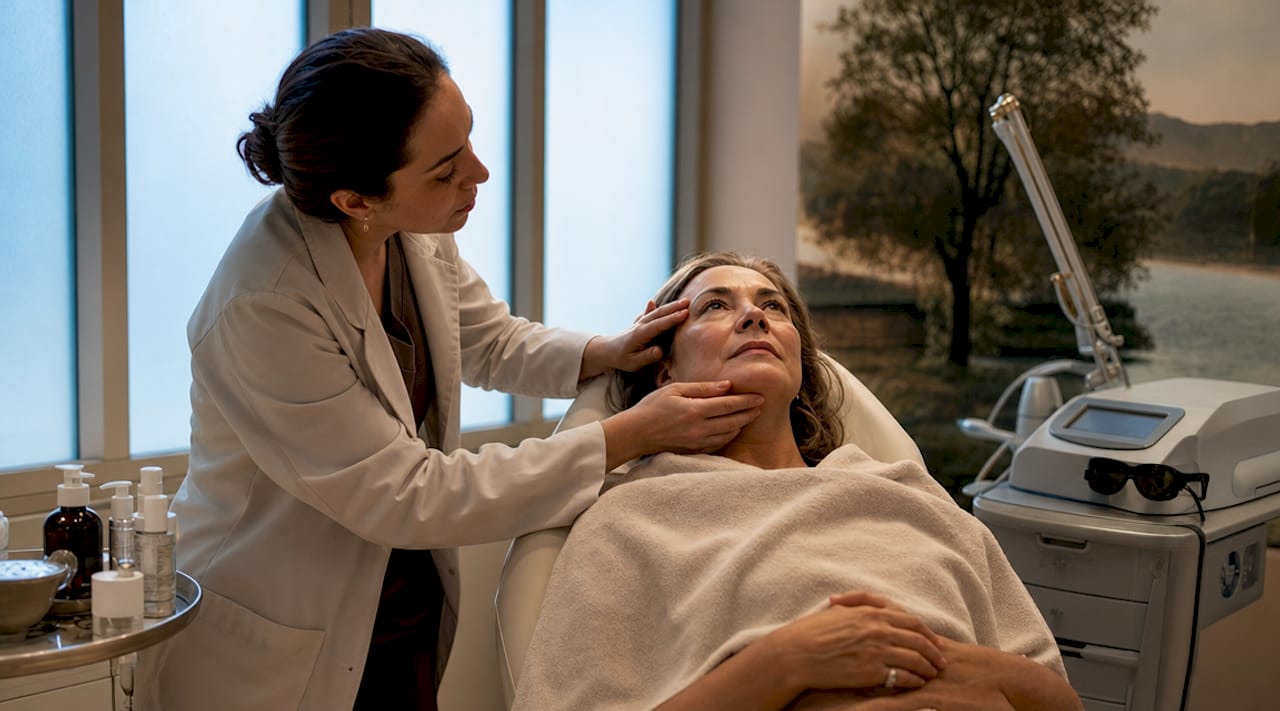
Step 1: Assess facial structure and suitability
Before receiving cheek fillers, a comprehensive evaluation of your unique facial anatomy is crucial. Carefully examining facial structure helps determine whether dermal fillers will achieve your aesthetic goals and complement your natural features.
The assessment involves several key considerations: your bone structure, skin quality, symmetry, and overall facial proportions. A skilled aesthetic practitioner will analyse your cheekbones, facial volume, soft tissue composition, and skin elasticity. They will look for characteristics such as natural bone prominence, potential volume loss, and areas where strategic filler placement can enhance your inherent facial architecture. This personalised approach ensures that the treatment looks natural and harmonious with your existing facial characteristics.
Understanding your specific facial dynamics allows the practitioner to recommend the most appropriate filler type, volume, and injection technique. Factors like age, skin condition, and aesthetic objectives all play significant roles in determining suitability.
Expert Advice: Request digital imaging or visual mapping during your consultation to preview potential enhancement outcomes and discuss realistic expectations.
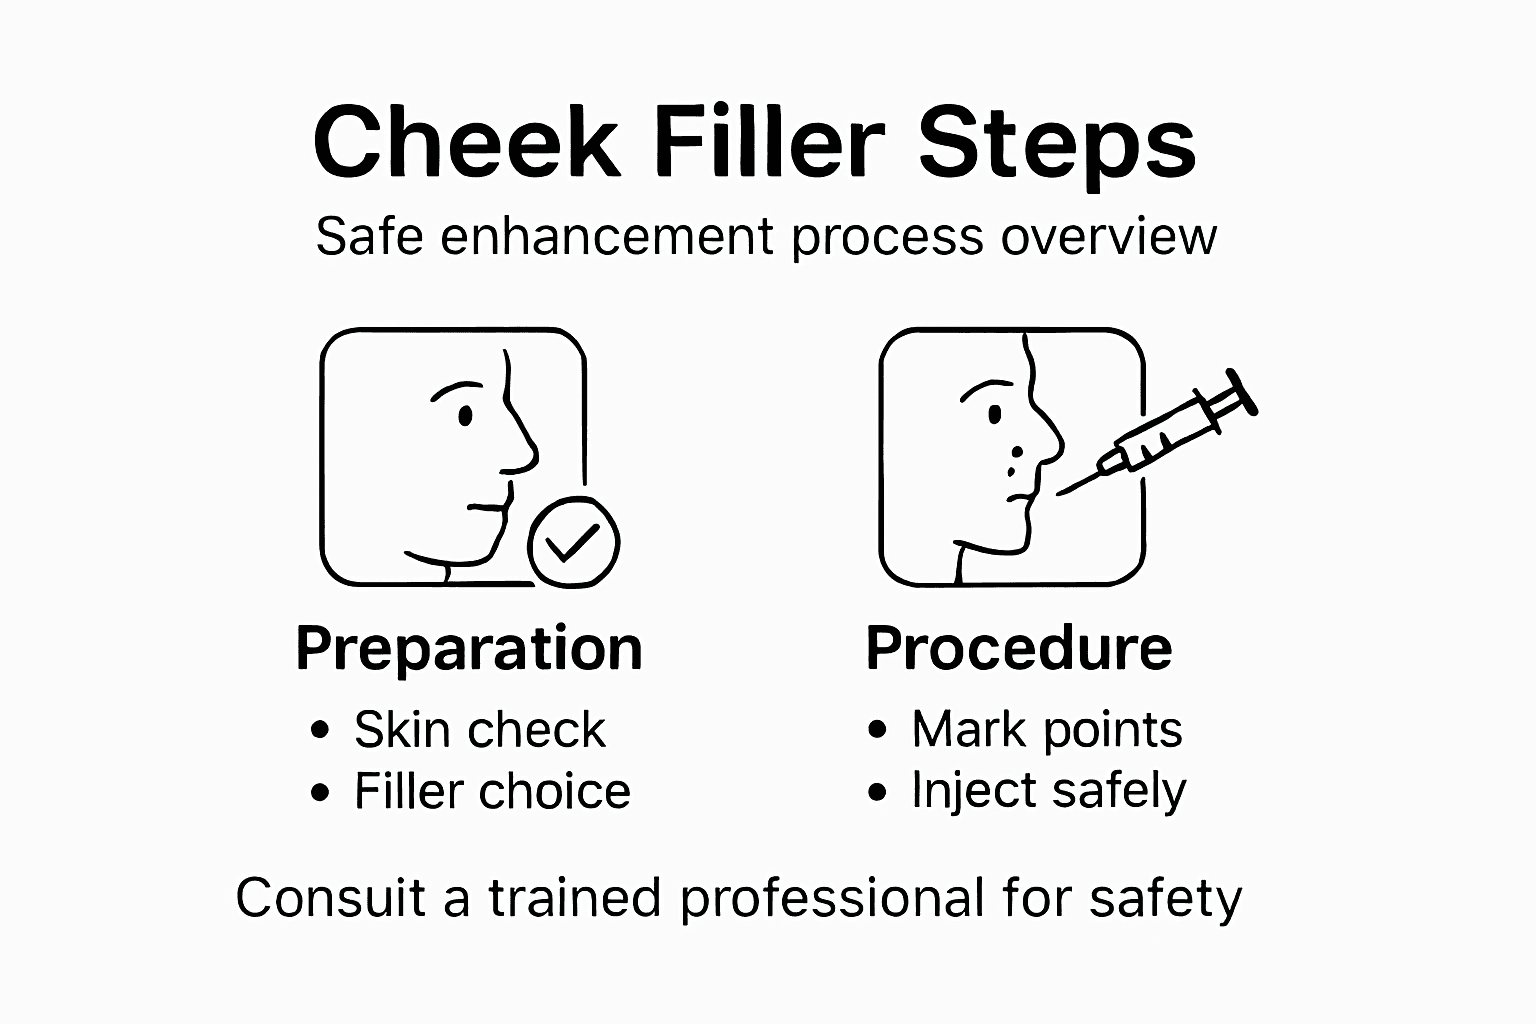
Step 2: Prepare the skin and select filler type
Preparing for cheek fillers involves carefully selecting the right product and ensuring your skin is primed for treatment. Different dermal filler types offer unique characteristics that can address specific aesthetic goals and skin requirements.
The preparation process begins with a thorough skin assessment. Your aesthetic practitioner will examine your skin’s condition, checking for any signs of inflammation, active acne, or potential contraindications. They will recommend cleansing your skin thoroughly and avoiding makeup, skincare products with active ingredients, and potential blood thinners like alcohol or certain medications in the 24 to 48 hours preceding your treatment. This helps minimise infection risks and promotes optimal filler integration.
Choosing the appropriate filler type is crucial and depends on multiple factors. Hyaluronic acid fillers work brilliantly for immediate volume and hydration, while calcium hydroxyapatite options provide more structural support. Your practitioner will consider your skin’s thickness, elasticity, desired outcome, and longevity when recommending the most suitable product. Each filler type has unique properties that can be strategically matched to your specific facial enhancement goals.
Here’s a comparison of the main types of cheek fillers used and their unique properties:
| Filler Type | Key Benefits | Typical Duration |
|---|---|---|
| Hyaluronic acid | Immediate volume, hydration | 6–18 months |
| Calcium hydroxyapatite | Firm support, subtle lift | 12–18 months |
| Poly-L-lactic acid | Gradual collagen boost | Up to 2 years |
Expert Advice: Hydrate extensively and avoid intense physical activities for 24 hours before your appointment to ensure optimal skin readiness and treatment effectiveness.
Step 3: Mark precise injection points
Marking precise injection points is a critical stage in achieving natural looking cheek fillers that enhance your facial contours. Facial assessment and mapping form the foundation of accurate filler placement, ensuring optimal aesthetic results.
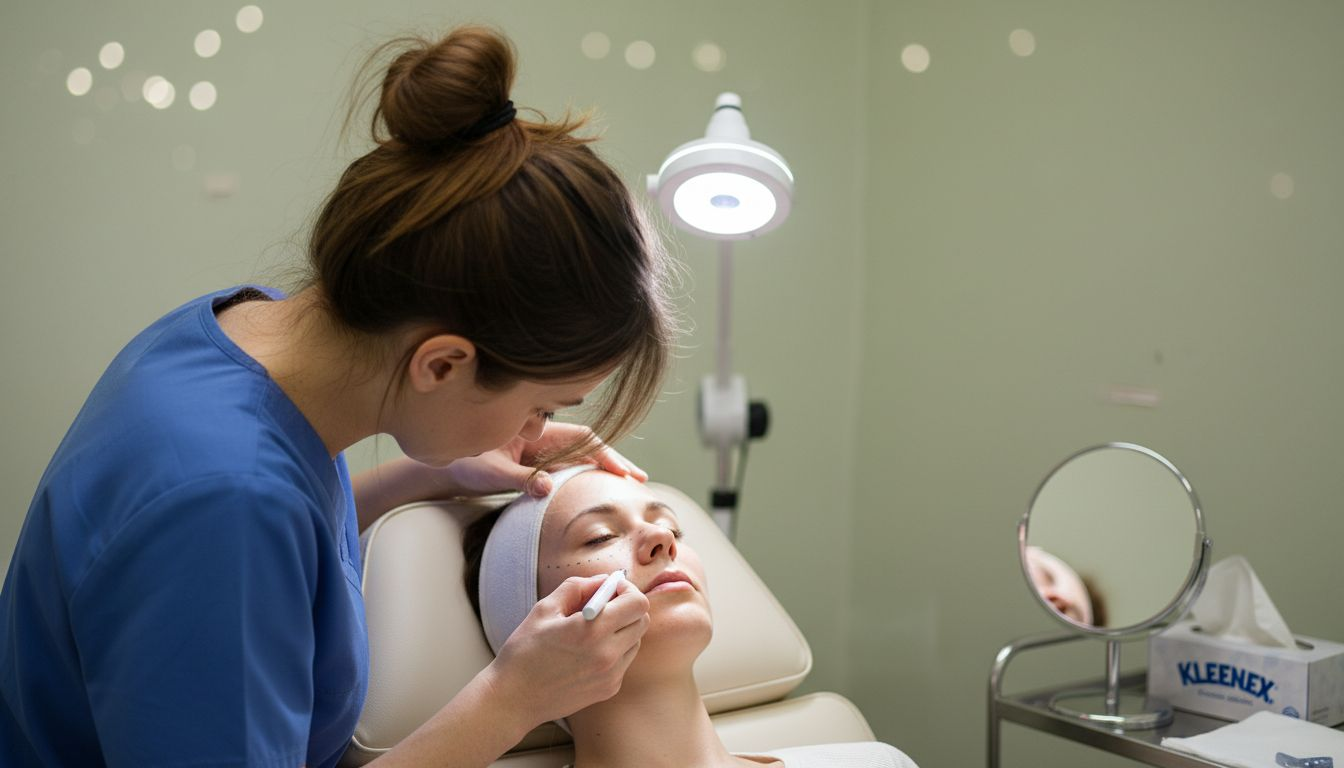
Your aesthetic practitioner will carefully evaluate your unique facial anatomy using advanced techniques. They will identify specific points along your cheekbones, mid face, and surrounding areas where strategic filler placement can restore volume and create a balanced, harmonious appearance. This meticulous process involves understanding the intricate layers of facial tissue and recognising individual muscular structures that influence the final outcome.
During the marking phase, your practitioner will use specialised techniques to map out precise injection locations. This might involve using surgical markers, digital imaging, or advanced facial analysis tools to create a personalised treatment blueprint. They will consider factors such as symmetry, natural bone structure, skin elasticity, and your specific aesthetic goals to determine the most effective injection points. Careful marking helps minimise potential risks and ensures that the filler is placed exactly where it will provide the most natural and flattering enhancement.
Expert Advice: Ask your practitioner to explain each marked point during the mapping process to understand how the planned injections will improve your facial contours.
Step 4: Administer cheek filler safely
Administering cheek fillers requires precision, expertise, and meticulous attention to safety protocols. Cheek filler injections are a carefully controlled nonsurgical procedure designed to enhance facial volume with minimal invasiveness.
The injection process begins with the practitioner selecting the most appropriate technique for your specific facial structure. Using a fine needle or cannula, they will carefully introduce the chosen filler into the predetermined marking points with exceptional control. The injection depth, angle, and volume are precisely calculated to ensure natural looking results and minimise potential complications. Practitioners will typically work methodically across the marked areas, using gentle linear threading or cross hatching techniques to distribute the filler evenly and create a smooth, balanced enhancement.
During the administration, your practitioner will continuously assess the treatment area, checking symmetry and integration of the filler. They may pause periodically to massage the area gently, ensuring even distribution and reducing the risk of lumps or irregularities. The entire process is typically completed within 20 to 30 minutes, with minimal discomfort and immediate visible improvements in facial contours and volume.
Expert Advice: Remain as still and relaxed as possible during the injection process to help your practitioner achieve the most precise and natural looking results.
Step 5: Evaluate symmetry and final results
The final stage of your cheek filler treatment involves a comprehensive assessment of the aesthetic outcome. Dermal filler results require meticulous evaluation to ensure optimal facial balance and patient satisfaction.
Your aesthetic practitioner will guide you through a detailed visual examination, using both clinical assessment techniques and your input. They will carefully analyse facial symmetry from multiple angles, checking that the filler has been distributed evenly and creates a natural, harmonious appearance. This involves assessing how the enhanced cheek volume interacts with your overall facial structure, ensuring the results complement your unique bone structure and natural contours. The practitioner may use specific techniques such as asking you to move your facial muscles, smile, or adopt different expressions to verify the filler’s integration and movement.
Immediately after the procedure, subtle swelling or minor asymmetries are normal and will typically resolve within a few days to a week. Your practitioner might recommend a follow-up appointment to make minor adjustments if needed, ensuring the final result meets your aesthetic expectations. During this evaluation, they will also provide guidance on aftercare and maintenance to help prolong the filler’s effectiveness and your enhanced appearance.
The following table summarises essential cheek filler aftercare practices and their importance:
| Aftercare Practice | Purpose | Expected Benefit |
|---|---|---|
| Hydrate regularly | Support skin healing | Improved recovery and longevity |
| Avoid strenuous exercise | Minimise swelling | Reduced risk of complications |
| Apply cold compresses | Soothe minor swelling | Increased comfort post-treatment |
| Follow up with practitioner | Monitor results and adjust if needed | Ensures optimal outcome |
Expert Advice: Photograph your results from multiple angles in natural lighting to track the treatment’s progression and discuss any subtle changes with your practitioner.
Discover Safe and Stunning Cheek Enhancements at The Aesthetics Room
Achieving natural, balanced cheek filler results starts with expert assessment and precise treatment planning. If you value personalised care and want to enhance your facial contours without compromising safety, explore our premium Dermal Fillers treatments. We understand that your unique facial structure and desired outcome are key to creating subtle yet impactful volume restoration that complements your natural beauty.

Ready to boost your confidence with expertly administered cheek fillers in a luxurious setting? Book your personalised consultation today at The Aesthetics Room in Knightsbridge, Harley Street or Mayfair. Our highly trained specialists prioritise your safety, comfort and satisfaction every step of the way. Begin your transformation now and embrace radiant, harmonious facial enhancement crafted just for you.
Frequently Asked Questions
What should I consider when assessing my suitability for cheek fillers?
Before receiving cheek fillers, evaluate your facial structure, skin quality, symmetry, and overall proportions. Request a consultation with a skilled aesthetic practitioner who can analyse your cheekbones and recommend the most appropriate filler type to achieve your aesthetic goals.
How do I prepare my skin before getting cheek fillers?
To prepare your skin, cleanse it thoroughly and avoid makeup and skincare products with active ingredients for 24 to 48 hours before your appointment. Additionally, refrain from consuming blood thinners like alcohol to minimise the risk of complications during the procedure.
What is the injection process for cheek fillers like?
The injection process involves your practitioner using a fine needle or cannula to introduce the filler into designated areas of your cheeks. Remain as still and relaxed as possible during the procedure, which typically lasts between 20 to 30 minutes, to help ensure precise and natural-looking results.
How can I evaluate the final results of my cheek fillers?
After receiving cheek fillers, your practitioner will assess the results for symmetry and balance. It’s helpful to take photographs from multiple angles in natural lighting to observe the treatment progression and discuss any minor adjustments that may be needed during a follow-up appointment.
What aftercare should I follow after getting cheek fillers?
Post-treatment, hydrate regularly and avoid strenuous exercise to support skin healing and reduce swelling. Additionally, apply cold compresses to the injection sites for comfort and follow up with your practitioner to monitor your results and make any necessary adjustments.