

Nearly 60 percent of British adults report feeling less confident due to visible skin imperfections. For busy professionals in London, safe and effective solutions are no longer just about luxury—they are vital to maintaining a polished, youthful appearance without invasive procedures. This guide delivers clear, actionable steps to help you choose and apply chemical peels that fit your individual needs, ensuring your skin looks refreshed and radiant with minimal risk.
Table of Contents
- Step 1: Assess Skin Suitability And Select Peel Type
- Step 2: Prepare Skin And Gather Necessary Materials
- Step 3: Apply Chemical Peel Methodically And Safely
- Step 4: Monitor Skin Reactions During The Procedure
- Step 5: Soothe Skin And Follow Precise Aftercare Steps
- Step 6: Evaluate Results And Schedule Future Treatments
Quick Summary
| Key Message | Explanation |
|---|---|
| 1. Assess skin characteristics | Properly evaluate your skin type and concerns to select the appropriate chemical peel for optimal results. |
| 2. Gather all necessary materials | Collect high-quality solutions and tools before starting the peel to ensure a professional application process. |
| 3. Apply slowly and methodically | Apply the chemical solution evenly, monitoring for any adverse reactions during the process for safety. |
| 4. Practice careful post-peel care | Use hypoallergenic moisturisers and avoid sun exposure to protect your skin after the treatment. |
| 5. Document and evaluate outcomes | Track improvements and schedule follow-up treatments based on your skin’s response for ongoing enhancement. |
Step 1: Assess skin suitability and select peel type
Choosing the right chemical peel requires careful evaluation of your unique skin characteristics and aesthetic goals. Not all peels work identically for everyone, which means a personalised approach is crucial for achieving optimal results.
Skin assessment begins with understanding your specific skin type, tone, and underlying conditions. Chemical peel classification depends on depth and individual skin phototype, ranging from superficial glycolic acid treatments to more intensive medium and deep peels. Professionals typically categorise peels into three primary depths: superficial, medium, and deep treatments. Superficial peels work best for mild skin concerns like slight discolouration or fine lines, while medium and deep peels target more significant skin imperfections such as pronounced wrinkles or deeper pigmentation issues.
Consider critical factors during your assessment: skin tone, existing skin conditions, medication history, and potential sensitivities. Darker skin tones require extra caution, as some chemical peels can cause uneven pigmentation. Individuals with active acne, rosacea, or recently sunburnt skin might need alternative treatments. A comprehensive medical consultation will help determine the most appropriate peel type tailored to your specific skin needs.
Insider Advice: Always schedule a professional skin consultation to receive a personalised chemical peel recommendation that considers your unique skin profile and aesthetic objectives.
Here is a comparison of chemical peel depths, their main benefits, recommended candidates, and key considerations:
| Peel Depth | Primary Benefits | Ideal Candidates | Key Considerations |
|---|---|---|---|
| Superficial | Brightens tone, refines texture | Mild discolouration, fine lines | Minimal downtime, low risk of irritation |
| Medium | Reduces wrinkles, fades pigment | Moderate ageing, deeper pigment | More recovery time, visible peeling |
| Deep | Smooths scars, treats severe sun damage | Pronounced wrinkles, severe sun damage | Requires medical supervision, high risk of pigmentation changes |
Step 2: Prepare skin and gather necessary materials
Preparing for a chemical peel requires meticulous planning and attention to detail to ensure a safe and effective treatment. Your goal in this step is to create an optimal environment for the procedure while gathering all essential materials.

Chemical peel preparation involves carefully selecting and organizing specific tools and products to guarantee a professional approach. Begin by collecting your core materials: high-quality chemical peel solution, protective gloves, cleansing agents, neutralizers, clean application brushes or cotton pads, and a timer. Ensure all products are within their expiration date and stored according to manufacturer recommendations. Your skin should be thoroughly cleansed and free from makeup, oils, or residual skincare products that might interfere with the peel’s effectiveness.
Before starting, conduct a comprehensive skin preparation routine. Gently cleanse your face with a mild, non-comedogenic cleanser designed to remove surface impurities without stripping natural oils. Pat your skin dry with a clean, soft towel and avoid using any additional moisturisers or skincare products that could create a barrier. If recommended by your skincare professional, perform a patch test 24 to 48 hours before the full treatment to check for potential allergic reactions or skin sensitivities.
Expert Tip: Maintain a clean, organised workspace and have all materials within easy reach before beginning your chemical peel to ensure a smooth, stress-free application process.
This table summarises essential materials for a safe home chemical peel procedure:
| Item | Purpose | Preparation Tip |
|---|---|---|
| Chemical peel solution | Exfoliates dead skin layers | Check expiration before use |
| Protective gloves | Shields hands from chemicals | Use new gloves for each session |
| Neutralising agent | Stops peel reaction safely | Keep within reach during process |
| Cleansing agent | Removes oils and impurities | Use a gentle, non-irritating cleanser |
| Application brush/cotton pad | Ensures solution is applied evenly | Use a sterile brush/cotton pad |
| Timer | Tracks application duration | Set exact minutes as instructed |
Step 3: Apply chemical peel methodically and safely
Applying a chemical peel requires precision, patience, and a systematic approach to ensure optimal results and minimise potential skin irritation. Your primary goal is to distribute the chemical solution evenly and consistently across your skin while monitoring its response carefully.
Chemical peel application involves a controlled method of skin treatment that stimulates dermal healing through carefully controlled application techniques. Begin by using a clean, soft applicator brush or sterile cotton pad to apply the chemical solution. Start at the centre of your face and work outwards in gentle, uniform strokes, ensuring complete and even coverage. Avoid the delicate eye area and lips, and be particularly cautious around any areas with open cuts or active skin conditions. Apply the solution in a thin, consistent layer, taking care not to oversaturate any single area.
Pay close attention to your skin’s immediate reaction during the application process. Some mild tingling or warmth is normal, but intense burning or significant discomfort requires immediate neutralisation or removal of the peel. Follow the specific timing guidelines provided with your chemical peel solution carefully most treatments require between three to five minutes of application, depending on the peel’s intensity and your skin’s sensitivity. Keep a timer nearby and be prepared to neutralise the peel precisely when recommended.
Professional Advice: Have a neutralising solution and cool water ready before starting the application, ensuring you can quickly stop the chemical reaction if your skin shows signs of excessive sensitivity or discomfort.
Step 4: Monitor skin reactions during the procedure
During a chemical peel, vigilant observation of your skin’s response is crucial to ensuring both safety and effectiveness. Your primary objective is to recognise and respond to any unexpected or potentially harmful reactions promptly.
Continuous monitoring of skin reactions helps identify early signs of irritation or adverse effects throughout the treatment process. Watch carefully for key indicators such as excessive redness, intense burning sensations, unexpected swelling, or sudden skin colour changes. Normal reactions include mild tingling or temporary warmth, but any sharp pain or persistent discomfort signals the need for immediate intervention. Keep a clean, damp cloth or neutralising solution close at hand, ready to stop the chemical reaction if your skin shows signs of overstimulation.
Pay attention to subtle changes in skin texture, hydration, and overall appearance. Some mild erythema is typical, but widespread redness or patches of inflammation require immediate action. Document your observations if possible tracking the duration and intensity of any reactions. If you experience prolonged discomfort or notice unusual skin responses, discontinue the treatment and consult a skincare professional immediately.
Expert Recommendation: Position a mirror nearby during the procedure so you can closely observe your skin’s reaction and respond quickly to any unexpected changes.
Step 5: Soothe skin and follow precise aftercare steps
After completing a chemical peel, your skin requires gentle care and strategic recovery to maintain its renewed appearance and prevent potential complications. Your primary focus is creating an optimal healing environment that supports skin regeneration while minimising potential irritation.
Post peel aftercare involves carefully managing skin recovery through targeted soothing techniques, which are essential for achieving optimal results. Begin by applying a fragrance-free, hypoallergenic moisturiser that supports skin hydration without causing additional irritation. Use lightweight, non comedogenic products that help calm inflammation and protect the newly exposed skin layers. Avoid touching or picking at any peeling areas, as this can introduce bacteria and disrupt the healing process.
Protect your skin from direct sunlight by applying a broad spectrum sunscreen with at least SPF 50, and minimise exposure during peak daylight hours. Your skin will be particularly sensitive following the chemical peel, so wearing protective clothing and seeking shade becomes crucial. Refrain from using exfoliating products, retinoids, or harsh skincare treatments for at least one week post treatment. If you experience prolonged redness, swelling, or unexpected skin reactions, contact your skincare professional promptly for personalised guidance.
Professional Tip: Keep a clean, soft towel nearby and gently pat your skin dry instead of rubbing, to prevent unnecessary friction and support delicate skin healing.
Step 6: Evaluate results and schedule future treatments
After your chemical peel, carefully assessing the treatment’s impact and planning subsequent interventions is crucial for maintaining your skin’s improved appearance. Your objective is to understand the immediate outcomes and develop a strategic approach for continued skin enhancement.
Post treatment evaluation involves comprehensive assessment of skin improvements and potential future interventions, considering factors such as texture, tone, and overall skin health. Photograph your skin immediately after healing to document changes and compare with previous images. Look for improvements in skin texture, reduction of fine lines, evening of pigmentation, and overall radiance. Consider consulting your skincare professional to perform a detailed clinical examination that can objectively measure the treatment’s effectiveness.
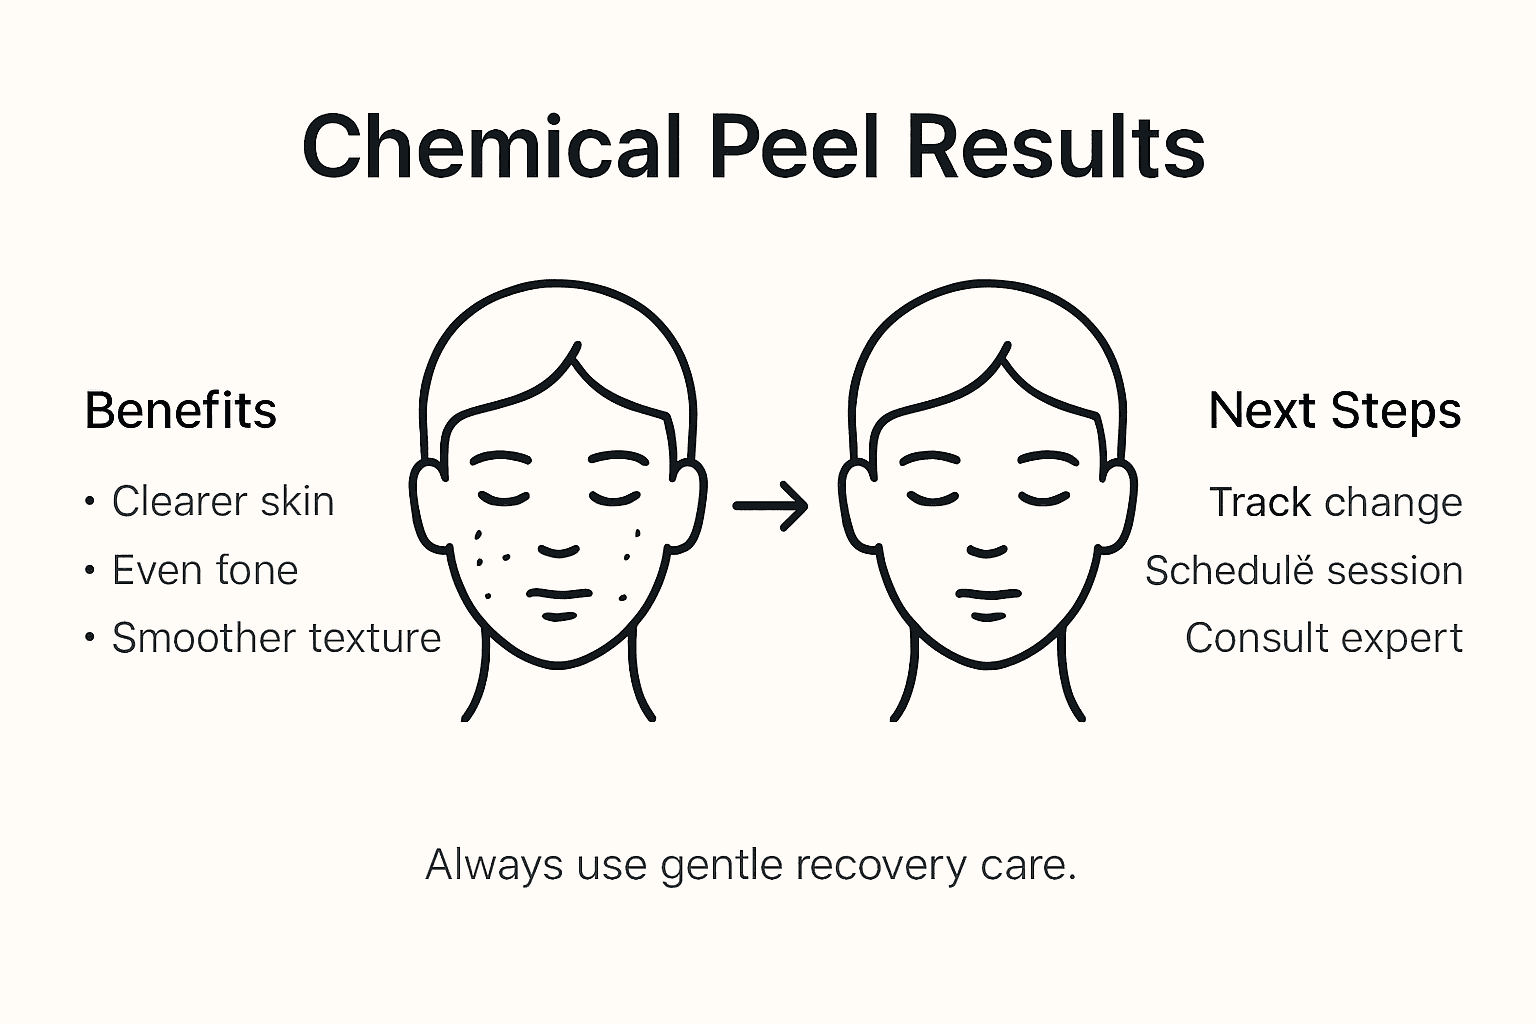
Scheduling future treatments requires a personalised approach based on your skin’s response and individual aesthetic goals. Most individuals benefit from a series of chemical peels spaced four to six weeks apart, depending on the peel’s intensity and your skin’s healing capacity. Factors such as skin type, age, and specific concerns will influence the recommended treatment frequency. Keep a detailed record of your skin’s reaction to each peel, noting any improvements or potential sensitivities, which will help your skincare professional design a tailored treatment plan.
Professional Recommendation: Take clear, well-lit photographs of your skin before and after each treatment in consistent lighting to accurately track your skin’s progressive improvements.
Reveal Radiant Skin with Expert Chemical Peel Treatments
Embarking on a chemical peel journey can be daunting with concerns about skin sensitivity, correct peel type, and effective aftercare playing a critical role in achieving glowing results. This step-by-step guide highlights the need for a personalised, safe approach that respects your unique skin profile and targets your specific concerns such as pigmentation, fine lines, or sun damage.

At The Aesthetics Room, we understand these challenges and offer professionally supervised chemical peel treatments tailored to your skin’s needs. Combining our expertise with personalised care ensures you benefit from precise application, optimal recovery and long-lasting skin rejuvenation. Explore how our comprehensive range of treatments, including Anti Wrinkle and Fat Dissolving therapies, can complement your peel journey for an enhanced youthful glow. Take the next step towards luminous skin by booking a consultation today at The Aesthetics Room and experience a safe, luxurious approach to skin transformation.
Frequently Asked Questions
What are the different types of chemical peels available?
Chemical peels are classified into three primary depths: superficial, medium, and deep. Superficial peels target mild skin concerns, while medium peels address moderate issues, and deep peels treat severe skin imperfections. Assess your skin type and goals to determine which peel is most suitable for you.
How can I prepare my skin for a chemical peel?
To prepare your skin, start by cleansing your face with a mild, non-comedogenic cleanser. Gather all necessary materials, such as the chemical peel solution, protective gloves, and a neutralising agent, to ensure a smooth application process.
How long should I leave a chemical peel on my skin?
The duration for leaving a chemical peel on varies based on its intensity, typically between three to five minutes. Follow the specific timing instructions that accompany your chemical peel solution and use a timer to avoid overexposure.
What aftercare steps should I follow after a chemical peel?
After a chemical peel, apply a fragrance-free, hypoallergenic moisturiser to hydrate your skin. Protect your skin from sunlight by using a sunscreen with at least SPF 50, and avoid harsh skincare products for at least one week to allow proper healing.
How often should I schedule chemical peels for best results?
Most individuals benefit from a series of chemical peels spaced four to six weeks apart depending on the intensity of the peel and your skin’s healing process. Evaluate the results and consult a professional if needed to create a personalised treatment plan.
What should I do if I experience adverse reactions during a chemical peel?
If you notice excessive redness, intense burning, or unusual swelling, immediately neutralise the peel or remove it using cool water. Document any reactions and consult a skincare professional if discomfort persists after the procedure.